Content creation and project demonstration
Content creation
Renders
Photo mode settings
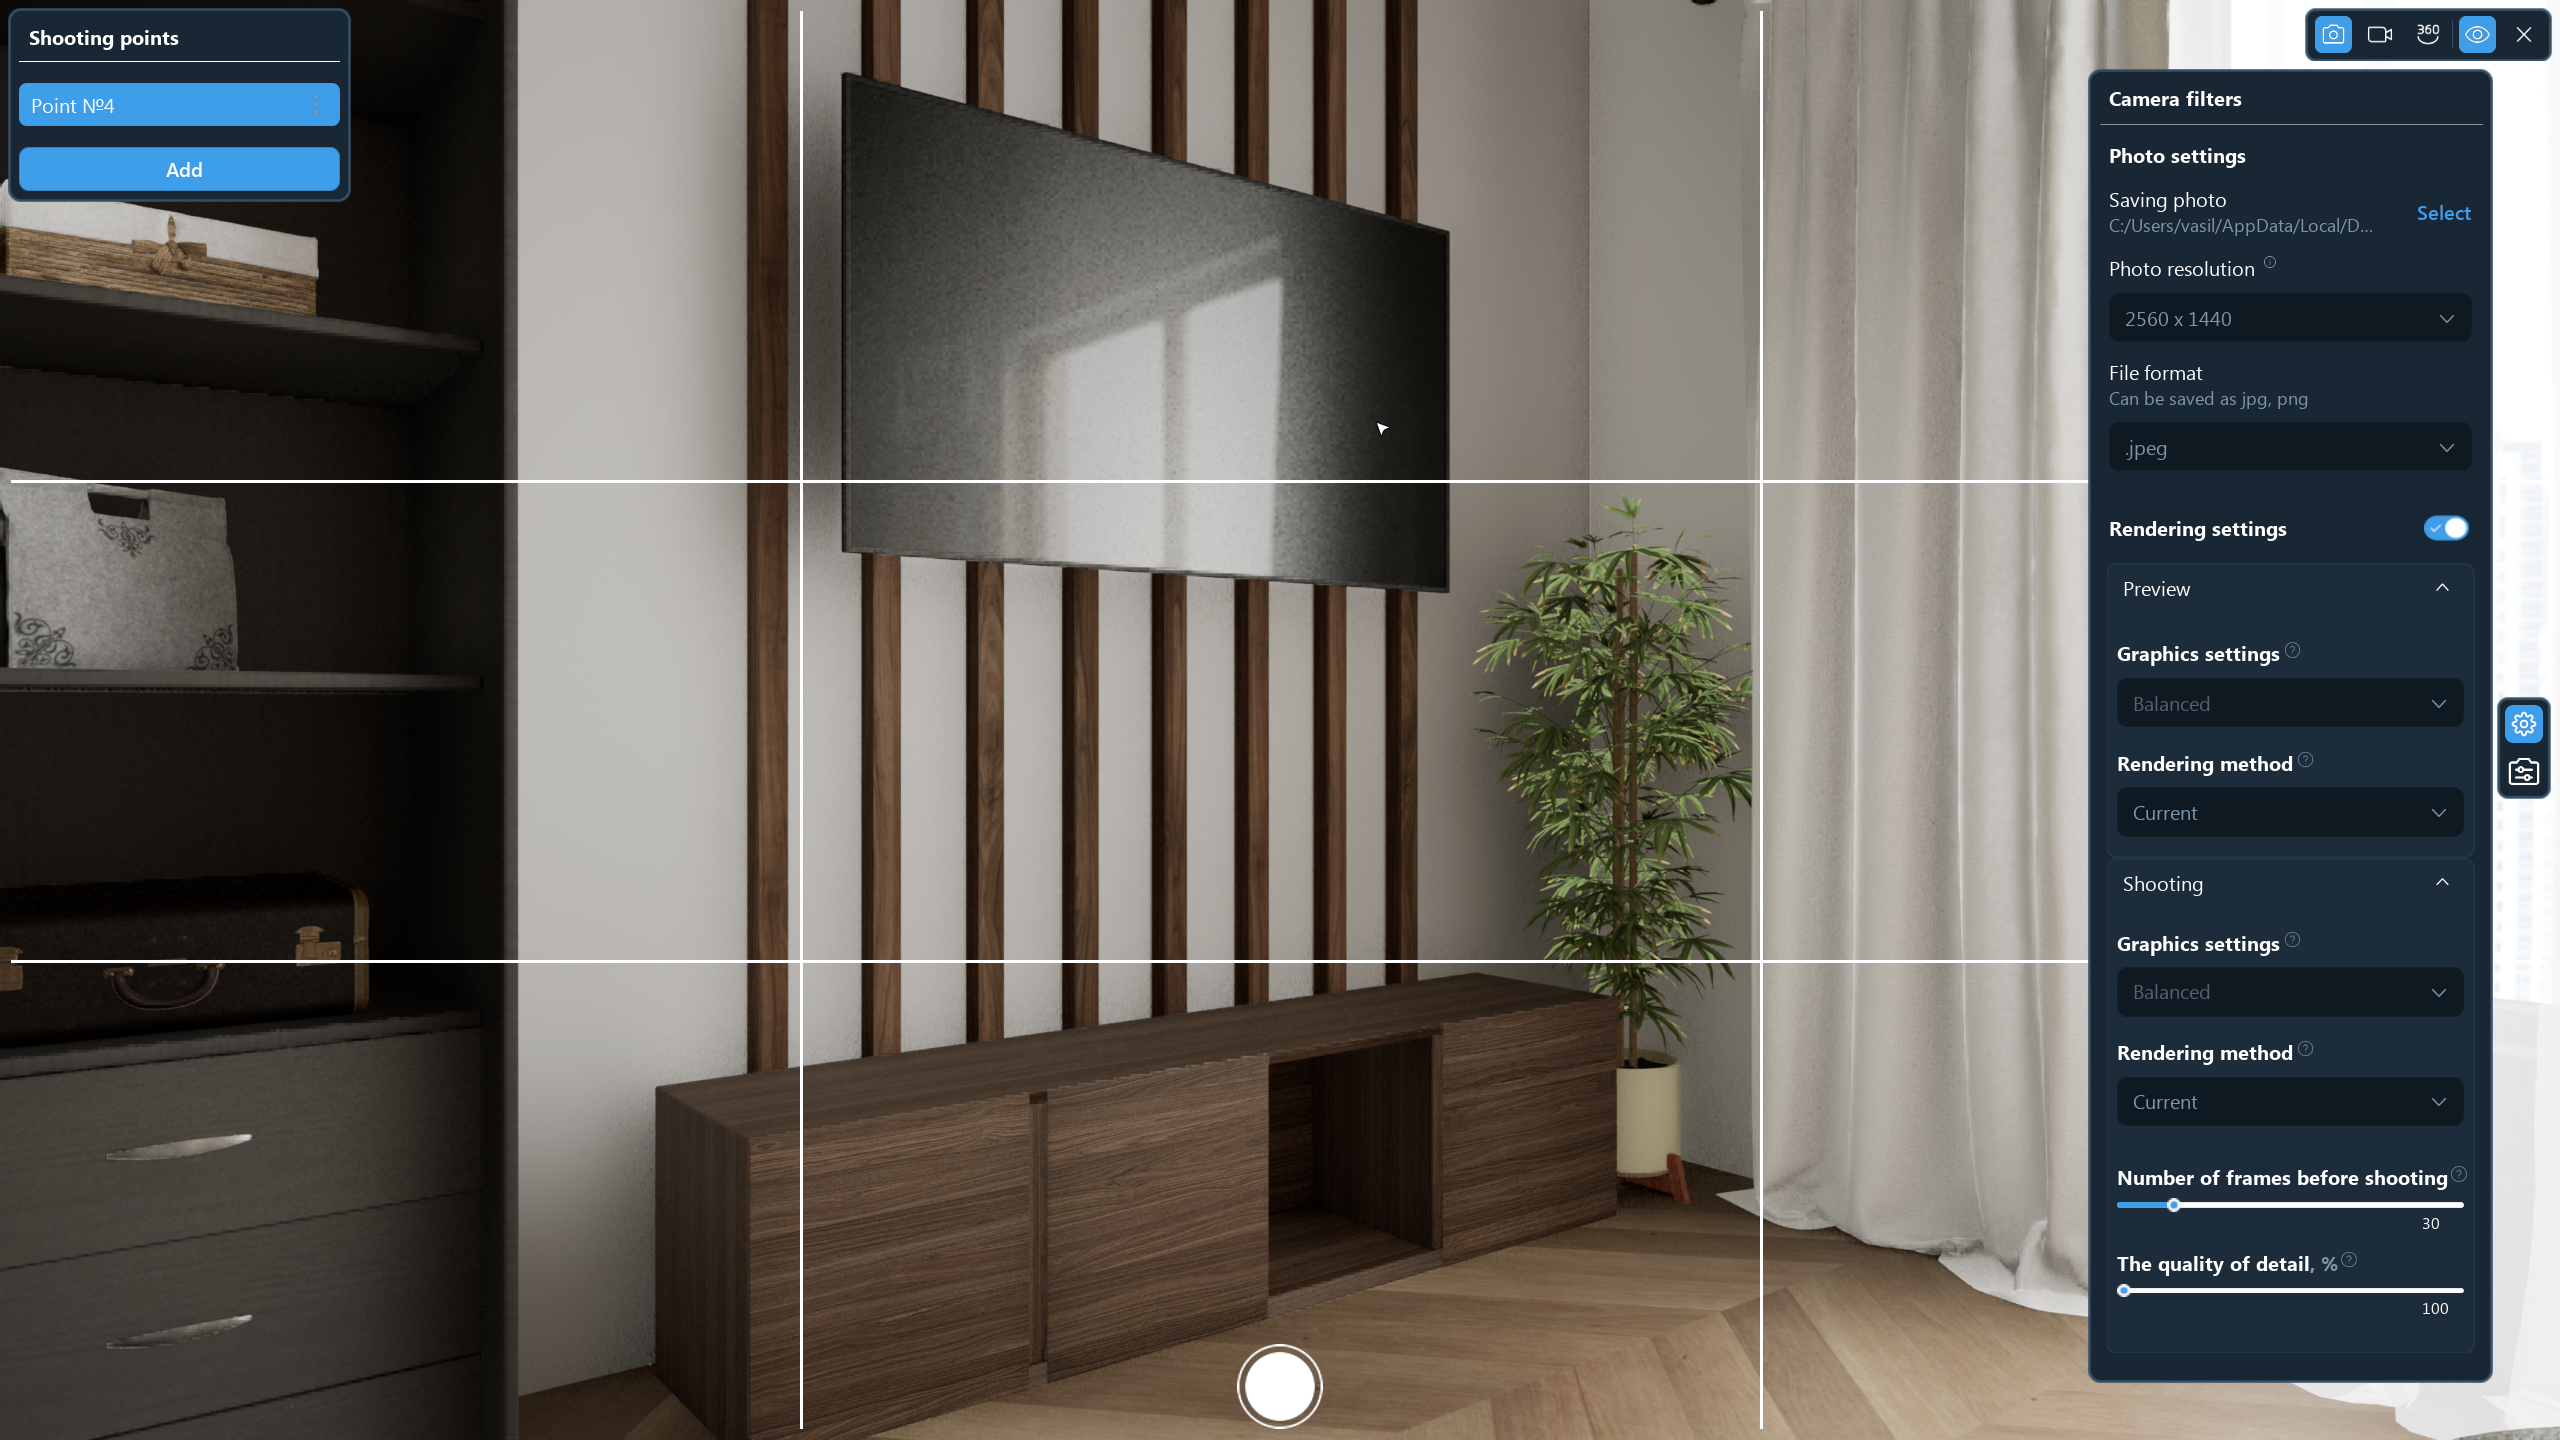
To switch to Photo mode settings go to Create Content mode → Render mode will be activates by default → Click Settings icon. The following Photo mode settings will be available:
1. Photo Settings
1. Folder for saving photos. Photos are saved by default into automatically created folder "DFDesigner_2".
2. Photo resolution
3. File format
2. Points addition
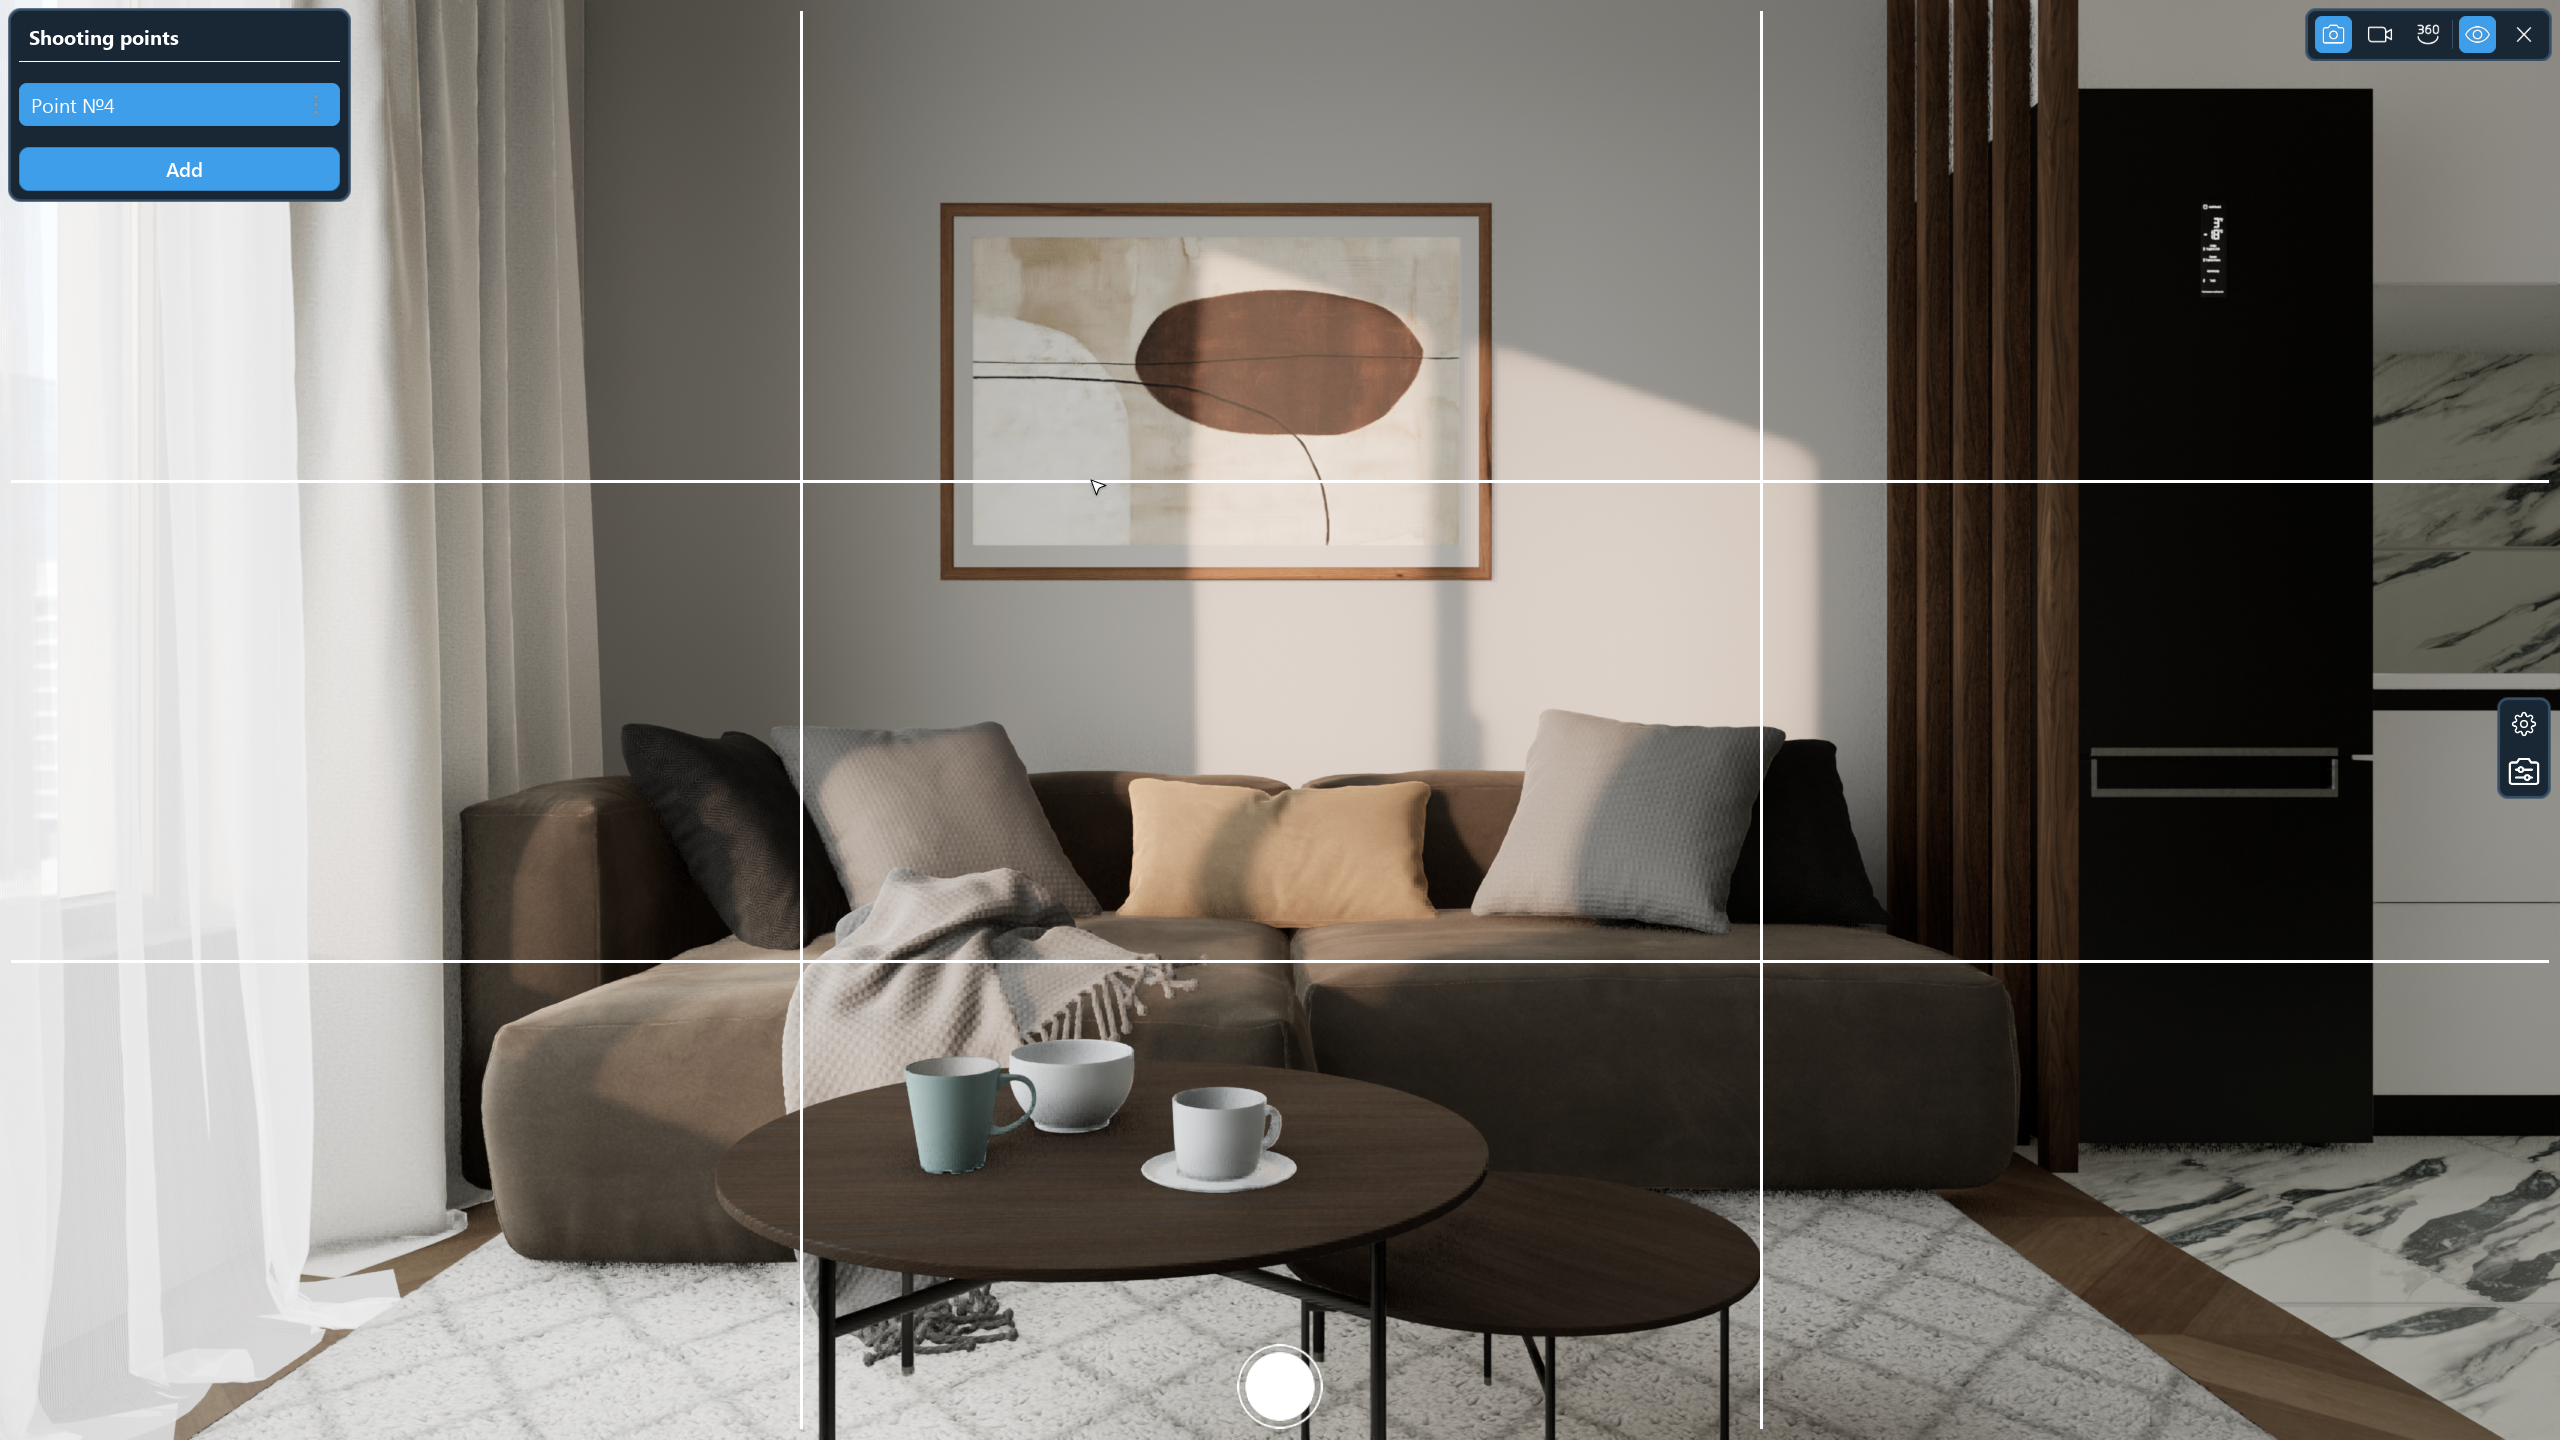
When switching to render mode, the function of adding shooting points will pop up in the upper left part of the screen. You can add several different points to get the photos of design from different angles.
Therefore, you can create several different images of the same project.
3. Camera settings
In the render mode, advanced camera settings are also available, which you can use to adjust all the necessary image details:
1) Camera position and rotation
2) Lens
3) Scene
4) Lighting
5) Filters
How to make a render
To make a render (photo) in the Create Project mode, click the Render icon → Select the camera angle → Make a photo of the design by clicking the Shutter icon in the bottom.
Once the photo is rendered, you will be prompted to select either Show (in the folder) or Share (in social media) in the pop-up window.

Video Fly-Throughs
Video mode settings
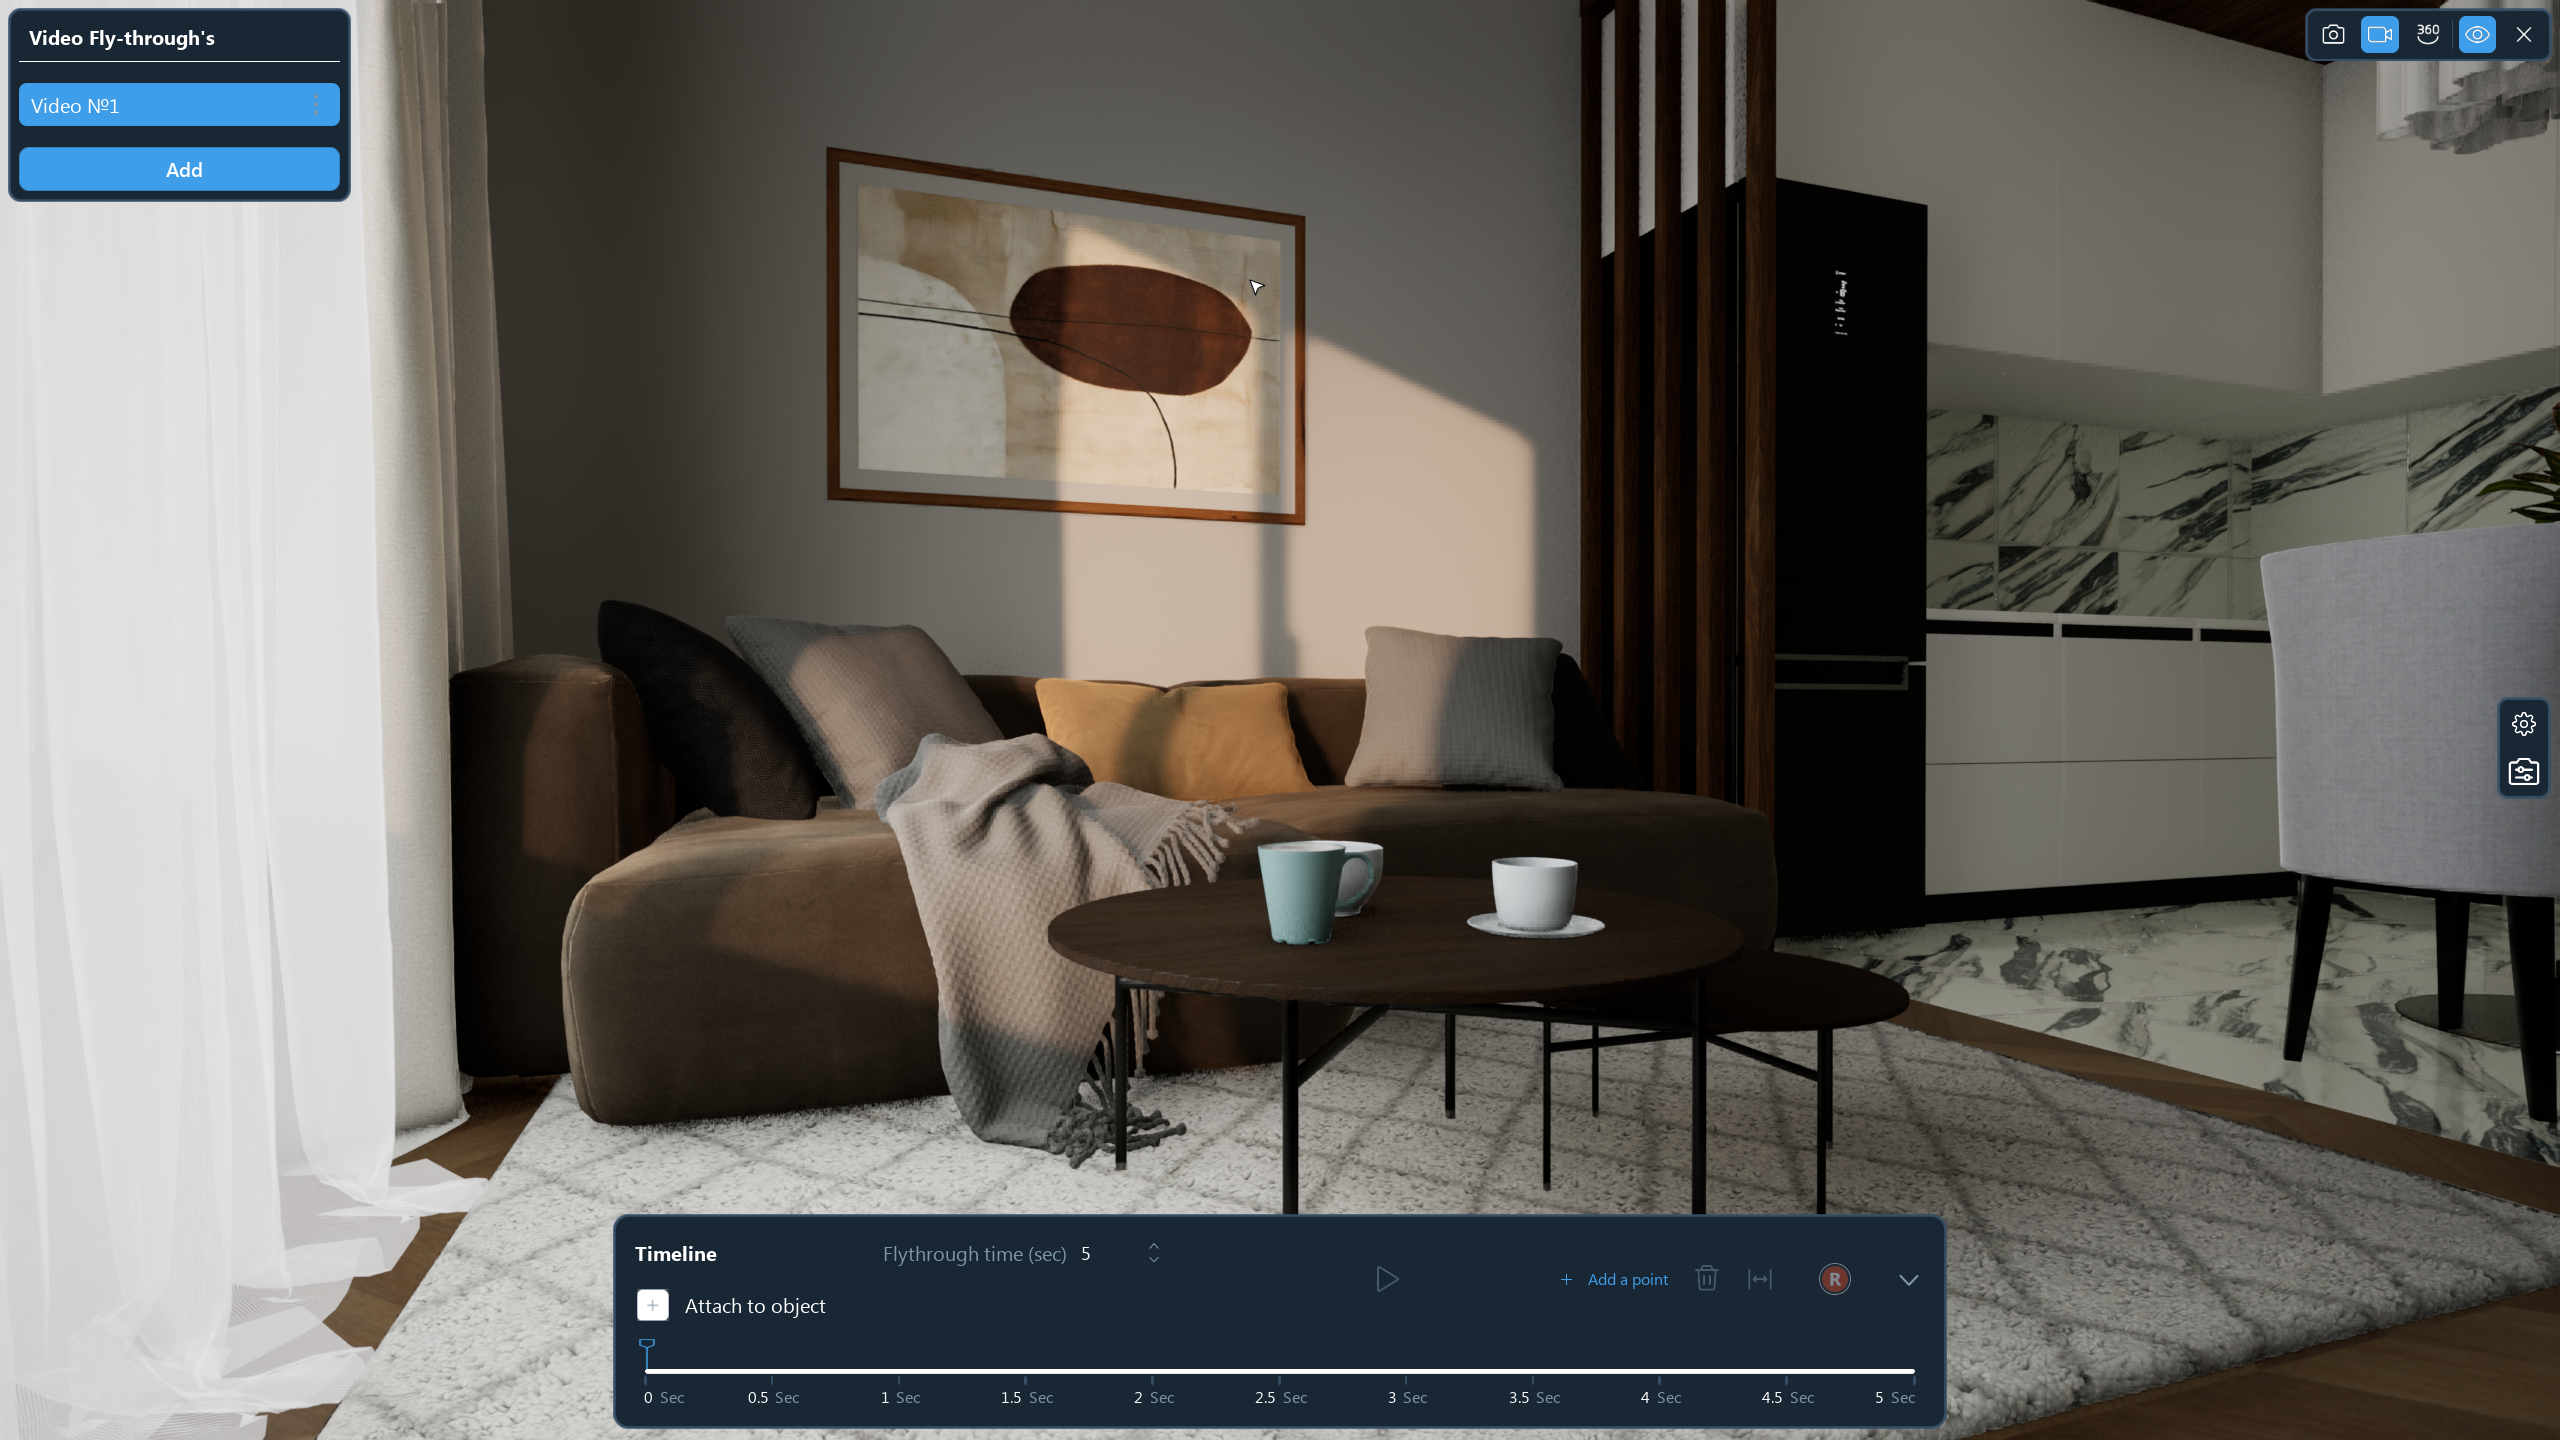
To create a video flythrough, left-click on the camera icon in the upper-left corner of the screen. In the upper right part of the screen, you will have four options for creating visualizations. You need to click on the icon of the video camera (second from the left). Click on the Link to object button, then select the object. Add the camera's flythrough points, and then set the duration of the flythrough. Set the distance to the object and press R to start creating a video.
To switch to Video mode settings, go to Create Content mode → Click the Video Flythrough icon → Click the Settings icon. The following Video mode settings are available:
1. Video settings
1. Folder for saving videos. Videos are saved by default into an automatically created folder "DFDesigner_2".
2. Video clip resolution
3. Frame rate per second
2. Camera view
1. Sensor width
2. Sensor height
3. Focus distance
3. Diaphragm
1. Aperture
4. Focus options
1. No focus
2. Manual focus
3. Focus by object
How to make Video Fly-through
To make a video flight in content creation mode, click on the video icon → Arrange the camera movement points and the time of flight between the points → Click the "Play" button to preview the final video.
To save the video, press R. Once the video is rendered, you will be prompted to select either Show (in the folder) or Share (in social media) in the pop-up window.

3D Tours for Websites
To make a 3D tour (panorama) click 360° icon in Create Content mode →
Follow the link to see the 3D-tour from the video.
Tours interactivos
DreamFlat Interactive Tour allows the viewer to navigate the scene using a keyboard or a computer mouse.
You can hide the interface for easy viewing. To do this, click on the Eye icon in the right section of the Interior Design mode menu.
VR
DreamFlat VR mode allows the viewer to enter the apartment and experience its dimensions, window sizes, and ceiling heights as if the viewer were there in person. High quality graphics make it possible to
Professional Rendering Tools
In advanced settings mode, you can use different lighting calculation methods which influence the quality and time of shooting. To activate them, open the Mode settings at the shooting stage and switch on the Rendering settings slider.
In the render creation mode, special rendering settings are also available in two modes: preview and shooting.
The preview includes the settings for previewing the current shooting results.
Shooting mode includes the settings that will be applied during the photo shoot.

The current method does not change the current graphics settings.
Path tracing is the most accurate way to simulate the light behavior.
RTXDI is a rendering method with a faster and less accurate path tracing. RTXDI may already be active in the graphics settings, in this case, if you select this method, it will not affect the result.
Current rendering method
The current method displays the image that is visible on the screen when you create the design and is linked to the graphics quality.
Path tracing
The most realistic simulation of the light behavior. Creates a set of light rays passing through the scene as many times as specified in the Number of reflections. The calculation is done for each pixel. At the same time, a separate precising lighting calculation is performed for each pixel according to the Number of samples per pixel parameter. After the calculation, the average value of the light parameters is calculated.
Mind that using this method means a potential significant consumption of video card resources and a long calculation time, which can lead to approximately full lack of response from the program. In other words, the program may look frozen, but you should wait for the tracing to complete.
Recommendations:
- Change the tracer settings by multiplying or dividing by 2.
- For a more detailed image, increase the detail quality to 120% - 150%. This option is also recommended if the image still looks soapy at high tracer settings.
- Note that this is the heaviest rendering mode. Video shooting in it can take a really long time. To maintain a balance between video quality and waiting time, it is recommended to set both tracer settings to 16 x 16.
- High values will not influence the result, so 128 x 128 is quite enough for a high-quality rendering. The more important parameters here are the photo or video resolution.
RTXDI
RTXDI might be active in the graphics settings. To check this, switch to the profile menu of the graphics settings. RTXDI rendering adds more precise shadows to the current method (par. 1.1), and in some cases, it improves lighting. To make these effects visible, Ray Tracing option should be enabled in the graphics settings. If you cannot select the rendering method, it means that your graphics card does not support hardware ray tracing (see recommended system requirements).
RTXDI may create negative effects, such as white dots on mirrored or glossy surfaces. It is not recommended to use it when shooting video if there is much smooth metal, glass, mirrors, or other surfaces with a high reflectivity in the frame. The picture looks better on scenes where there is little direct and a a higher level of diffused light.
For shooting with RTXDI (especially for photos), it is recommended to set a high value for the Number of frames before shooting (40-80), as its calculation takes more time than for normal rendering.
RTXDI is a kind of a simplified version of Path tracing method.
Number of frames before shooting
This parameter means that several frames will be skipped before shooting the final image.
If the Ray Tracing option is enabled, it will activate the light calculation, which means that some frames might have a non-quality look. To remove this effect, you need to wait for the final pure frame to be generated.
The shooting time may increase when using this parameter, but in most cases it will make the frame clearer and ensure better light distribution.
Detail quality
The detail quality parameter is designed for increasing the number of pixels during rendering in relation to the resolution of the photo or video selected in the settings.
The resolution increase provides greater detail and picture quality, as well as a more accurate light distribution on the scene.
Number of samples per pixel
A parameter that affects the light distribution. The higher it is, the more accurate the light distribution will be.


