


Content creation and project demonstration
helpCenter_contentCreation
Renders
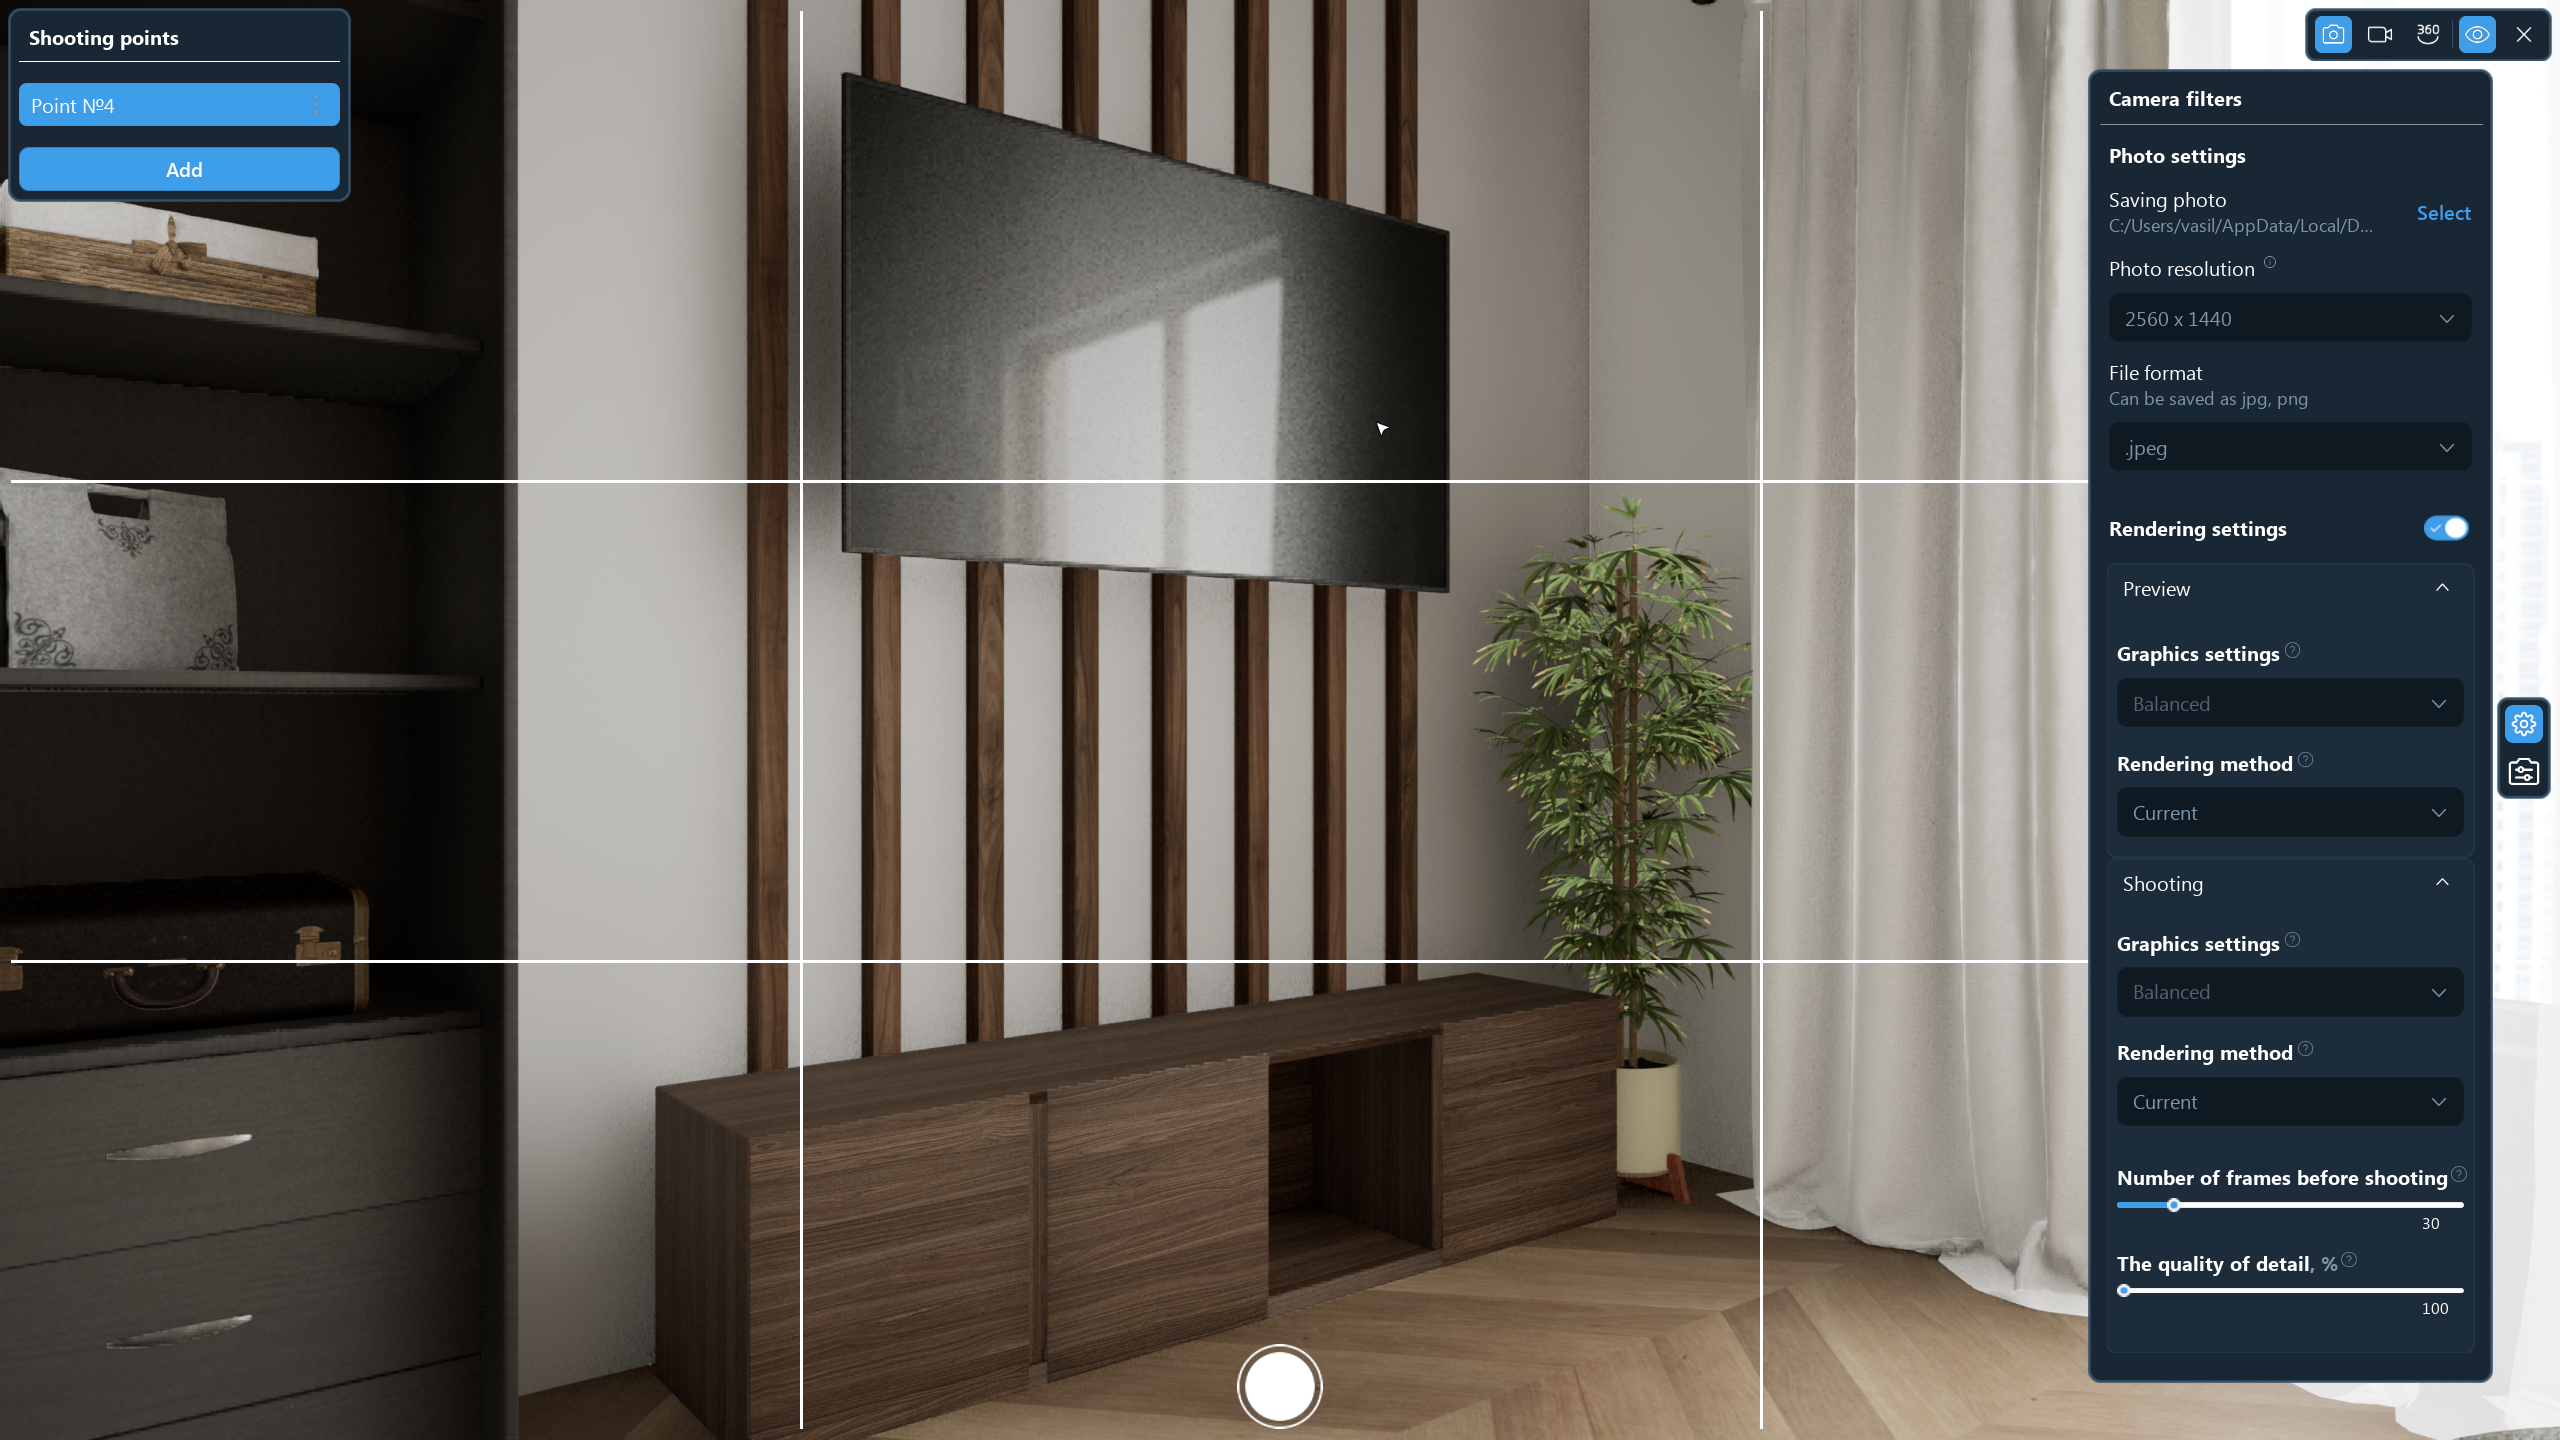
Photo mode settings
To switch to Photo mode settings go to Create Content mode → Render mode will be activates by default → Click Settings icon. The following Photo mode settings will be available:
1. Photo Settings
1. Folder for saving photos. Photos are saved by default into automatically created folder "DFDesigner_2".
2. Photo resolution
3. File format
helpCenter_addingPoints
helpCenter_functionAddingShootPoints
helpCenter_severalImages_sameProject
helpCenter_cameraSettings
helpCenter_advancedCameraSettings
helpCenter_cameraPositionRotation
helpCenter_theLens
helpCenter_theStage
helpCenter_lighting
helpCenter_filters
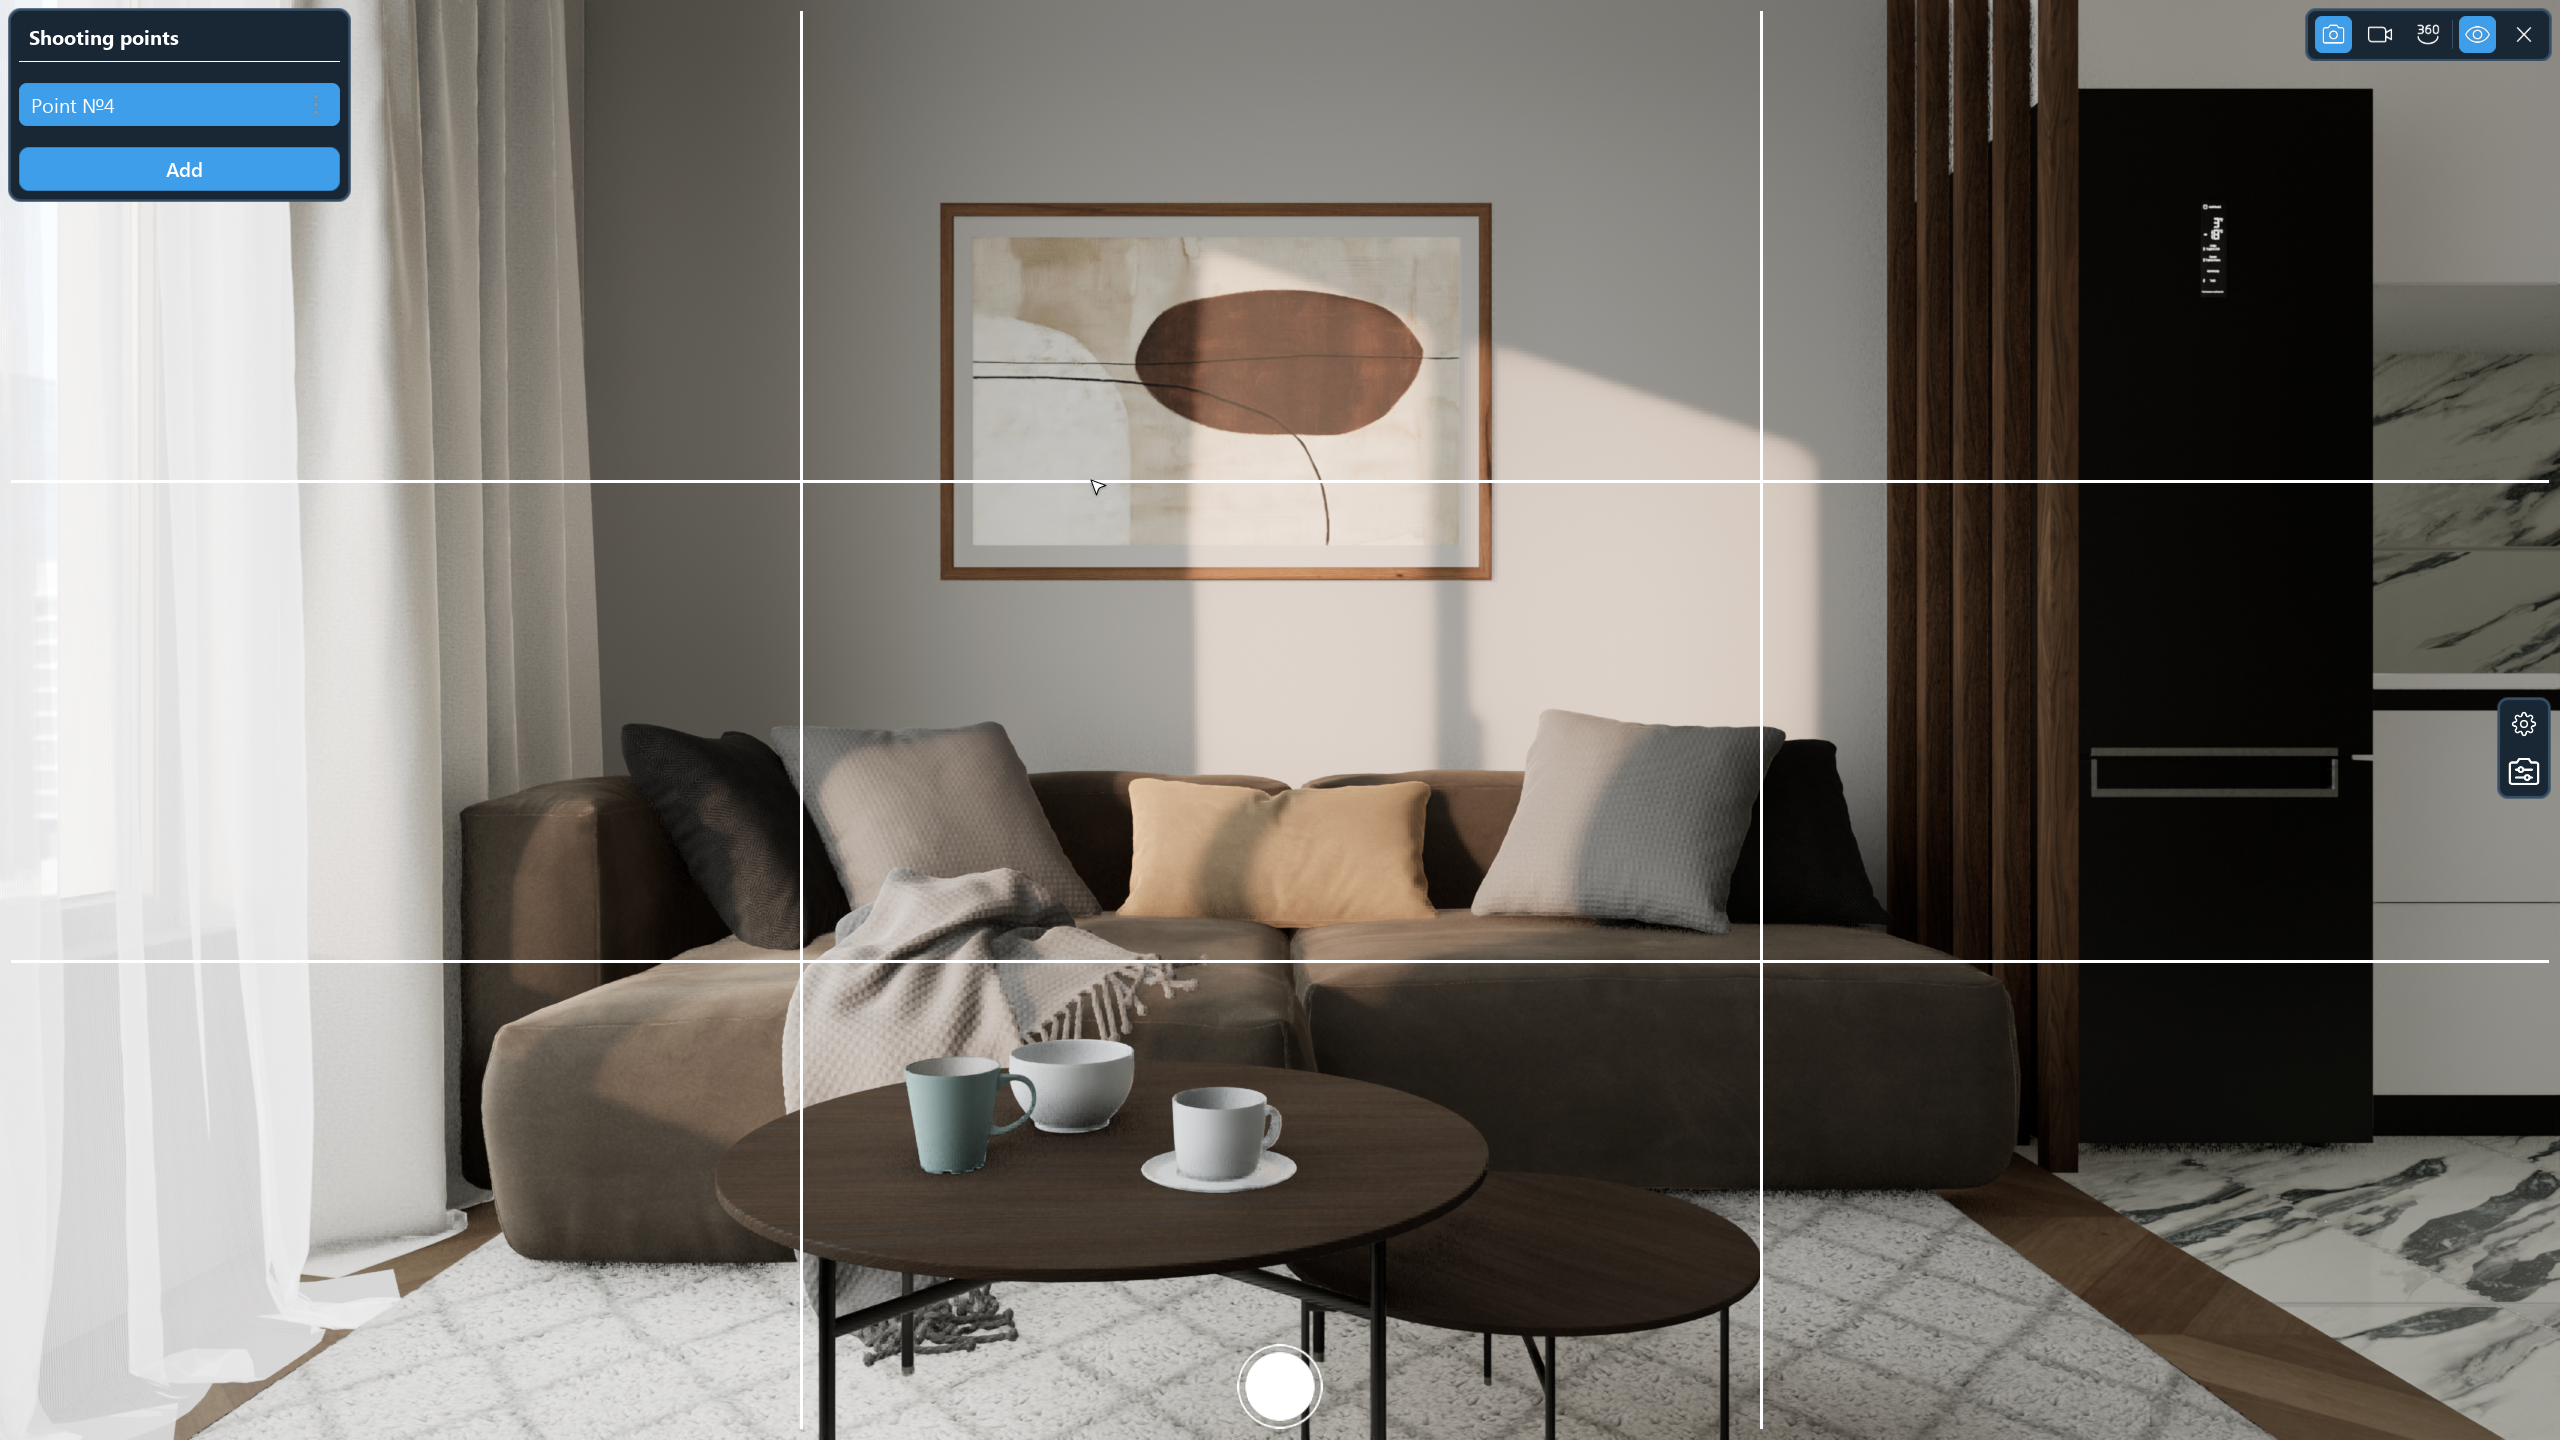
How to make a render
To make a render (photo) in the Create Project mode, click the Render icon → Select the camera angle → Make a photo of the design by clicking the Shutter icon in the bottom.
Once the photo is rendered, you will be prompted to select either Show (in the folder) or Share (in social media) in the pop-up window.
To return all the default settings, click on the «Reset filters» button.
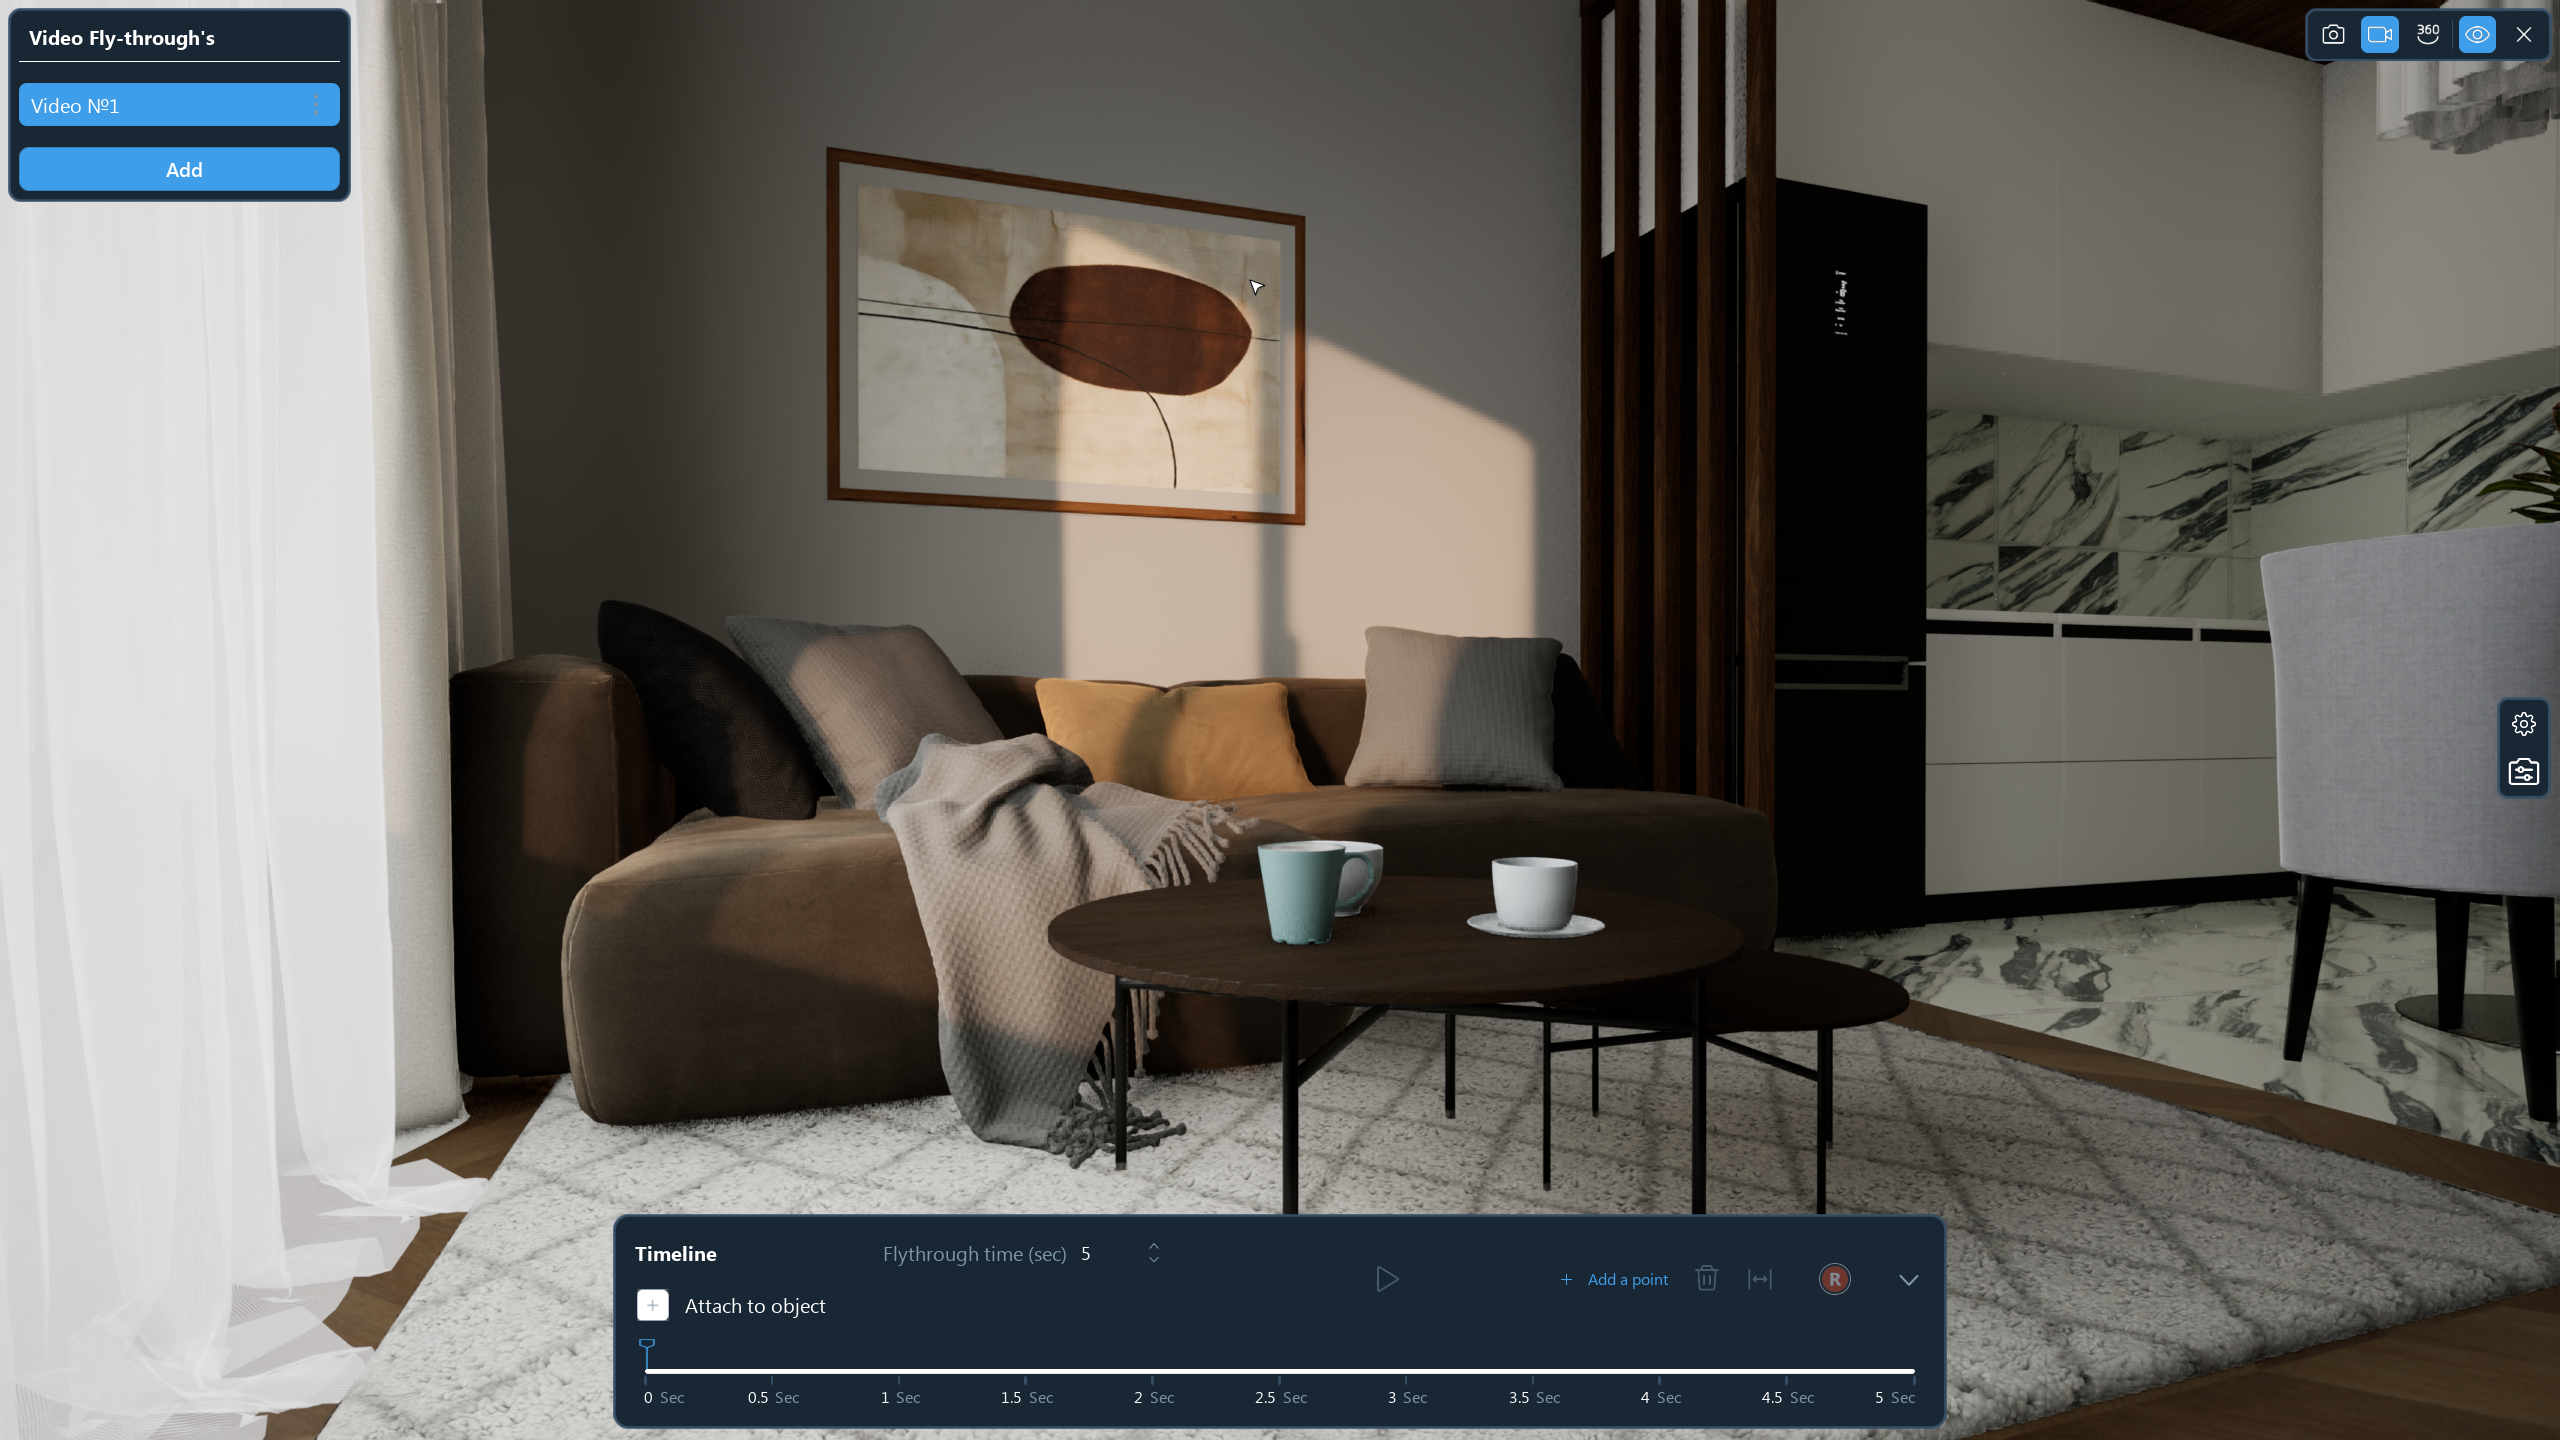
Video Fly-Throughs
Video mode settings
Para crear un sobrevuelo en video, haga clic izquierdo en el ícono de la cámara ubicado en la esquina superior izquierda de la pantalla. En la parte superior derecha de la pantalla, tendrá cuatro opciones para crear visualizaciones. Debes hacer clic en el ícono de la cámara de video (segundo desde la izquierda). Haga clic en el botón `Ajustar a objeto` y luego seleccione el objeto. Agregue puntos de paso elevado de la cámara y luego establezca la duración del paso elevado. Establezca la distancia al objeto y presione R para comenzar a crear video.
To switch to Video mode settings, go to Create Content mode → Click the Video Flythrough icon → Click the Settings icon. The following Video mode settings are available:
1. Video settings
1. Folder for saving videos. Videos are saved by default into an automatically created folder "DFDesigner_2".
2. Video clip resolution
3. Frame rate per second
2. Camera view
1. Sensor width
2. Sensor height
3. Focus distance
3. Diaphragm
1. Aperture
4. Focus options
1. No focus
2. Manual focus
3. Focus by object
To return all the default settings, click on the «Reset filters» button.
How to make Video Fly-through
To make a video flythrough in the Create Content mode, click the Video icon → Set the camera moving reference points and the camera flythrough time between the reference points (in seconds) → Click the Play button (leftward to R) to preview the video.
To save the video, press R. Once the video is rendered, you will be prompted to select either Show (in the folder) or Share (in social media) in the pop-up window.
By pressing R, you use a limited video flythrough.
3D Tours for Websites
To make a 3D tour (panorama) click 360° icon in Create Content mode →
To return all the default settings, click on the «Reset filters» button.
Follow the link to see the 3D-tour from the video.
Interactive tour
DreamFlat Interactive Tour allows the viewer to navigate the scene using a keyboard or a computer mouse.
You can hide the interface for easy viewing. To do this, click on the Eye icon in the right section of the Interior Design mode menu.
VR
DreamFlat VR mode allows the viewer to enter the apartment and experience its dimensions, window sizes, and ceiling heights as if the viewer were there in person. High quality graphics make it possible to
helpСenter_createСontent_render_equipment
helpCenter_advancedSettings_modeRender
helpCenter_renderingMode
helpCenter_renderPreview
helpCenter_shootingSettings
helpCenter_currentMethod_doesNotChangeSettings
helpCenter_pathTracing_simulateLight
helpCenter_rtxdiRender
helpCenter_currentRenderMethod
helpCenter_methodDisplayImage
helpCenter_pathTracing
helpCenter_mostRealisticSimulation
helpCenter_usingMethod_significantResourcesConsumption
helpCenter_recommendations
- helpCenter_tracerSettingsRecommendations
- helpCenter_increaseDetailQuality
- helpCenter_heaviestRenderMode
- helpCenter_highValues_notInfluenceResult
helpCenter_rtxdi
helpCenter_rtxdiMightActive_inGraphicsSettings
helpCenter_rtxdiMayCreate_negativeEffects
helpCenter_recommendations_forShootingRtxdi
helpCenter_rtxdi_simplifiedPathTracing
helpCenter_numberOfFrames
helpCenter_paramSeveralFrames_skippedBeforeShooting
helpCenter_rayTracingParam
helpCenter_shootingTime_mayIncrese
helpCenter_detailQuality
helpCenter_paramDetailQuality
helpCenter_increaseResolution
helpCenter_numberOfSamples
helpCenter_paramLightDistribution